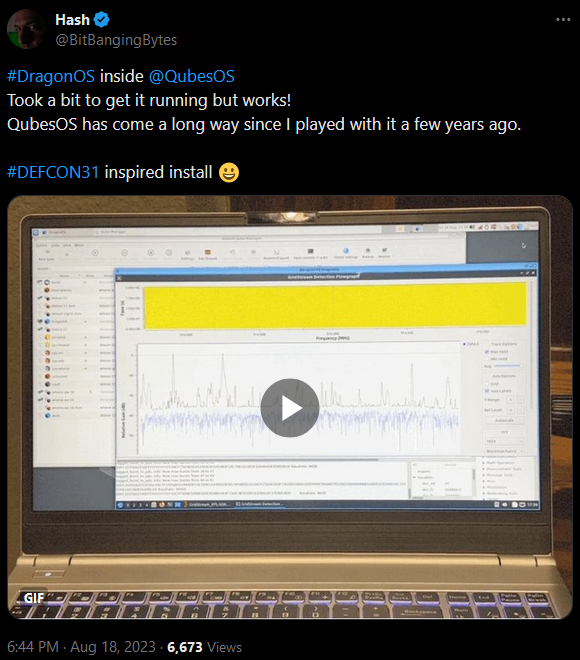
Ever since I saw a tweet about this, it's been a bit of a personal "holy grail" to actually accomplish this. I tried a few times initially, but lacked the hardware to really seriously run Qubes OS, so I never managed to do so. Recently, I have come in to possession of some much more powerful hardware, very suitable for Qubes OS, and a dozen or so attempts later, I finally managed to do it.
I've been working on this on-and-off since I saw this tweet:
https://x.com/BitBangingBytes/status/1692668723725816277

Aug 18, 2023
Nearly a year of work and effort.
Time to sit back for a quick story time... Back when I first saw this tweet I was playing around with Qubes OS. I had pilfered a laptop from the trash at work for the purpose and it had "only" 8GB RAM, so I could get Qubes booted, and a Qube or maybe 2 running, but nothing more. I tried to set up DragonOS, and while I could get the base OS itself installed, I couldn't ever get the networking sorted out, so I couldn't ever update anything. It "worked", but due to the lack of networking, I didn't quite call that a win. Fast forward a couple months later, another attempt with newer versions of DragonOS and Qubes OS, I was still getting the same problem. A couple months later, and now DragonOS wouldn't boot after install. And then the installer wouldn't even boot at all. I started questioning the original tweet. I started questioning my abilities and skills. I started questioning my own sanity. I was scouring the internet for old builds and ISOs... if I could at least get the install and boot, surely I could work from there. I was desperate to at least get back to the install and boot. But alas, there was only the last 2 versions, and a version from 2022. I tried that version from 2022, and there too, the installed wouldn't even boot. But how...? How was a version that was older than my last successful install and boot not able to even boot the installer??? I was thoroughly confused. I was going to abandon the idea entirely. Until some other projects, also on Qubes, but now with much beefier hardware, brought forth a series of revelations and understandings. Suddenly, it all made sense, I understood what I was missing and doing wrong, and just like that, the next attempt was an absolute success.
To start, we need to make sure to properly configure the Qube. This turned out to be one of the more important (and frustrating) set of details. Create a standard Standalone HVM like you would for any other full VM, but be sure to check the "Launch settings after creation".
In the 'Basic' tab:
- Set the Template to empty or none
- Set the System Storage size to 50GB or more
In the 'Advanced' tab:
- Be sure that "Include in memory balancing" is NOT checked
- Set the Initial memory to 4096 MB or more
Click the 'Apply' button, and then click the 'Boot qube from CD-ROM' button, and then select the DragonOS ISO file.
While the VM/Qube is booting up, go ahead and reopen the settings window, we'll be needing the networking details.
We can do this in the live installer environment, and get the package updates as part of the install process, which I think is the better option, but if you miss it then, you can just set it up in the installed environment.
So in either the installer or installed environment, edit the network interface settings. Just use Network Manager. Statically assign the IP and networking details as you see in the Qube's settings window. Yeah, the 255.255.255.255 netmask and gateway don't look like they'll work, but they do.
I wasted an embarassing amount of time not fully understanding what the "memory balancing" really meant and it's implications, as well as just not knowing to se the static IP details for the networking. It wasn't until some other projects on Qubes brought on some new understandings that I was able to figure out those 2 seemingly small, but very critical, details. In the end, these 2 things aren't unique, nor even all that uncommon truth be told. In fact, I would go so far as to say that these are common options to set for many (most/all?) HVMs in Qubes OS.
And there you go, just like that, you're done! Just be sure to use the USB Device Manager in Qube's dom0 to assign your SDR and other peripherals to your Qube, and you're good to go!
